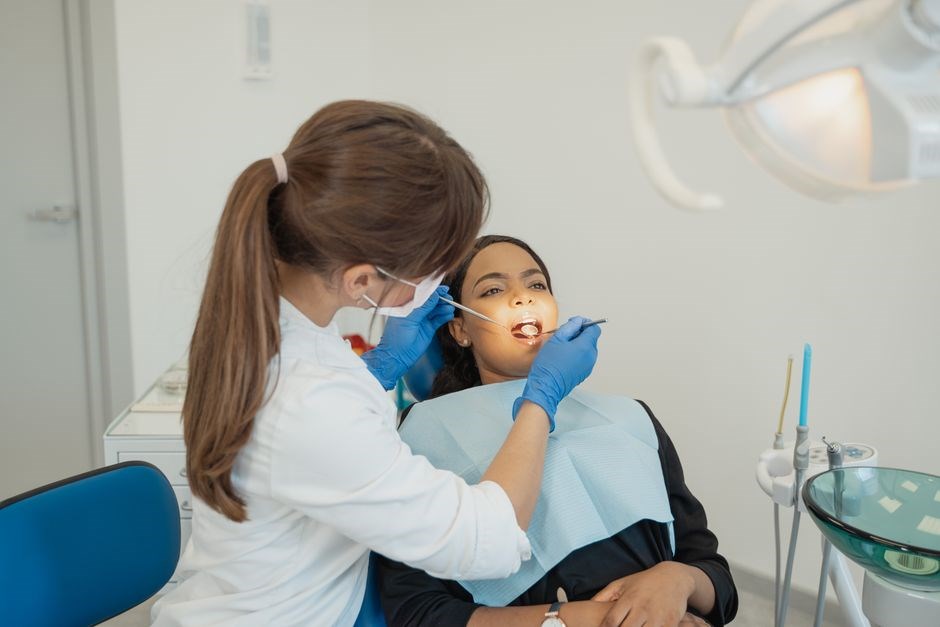
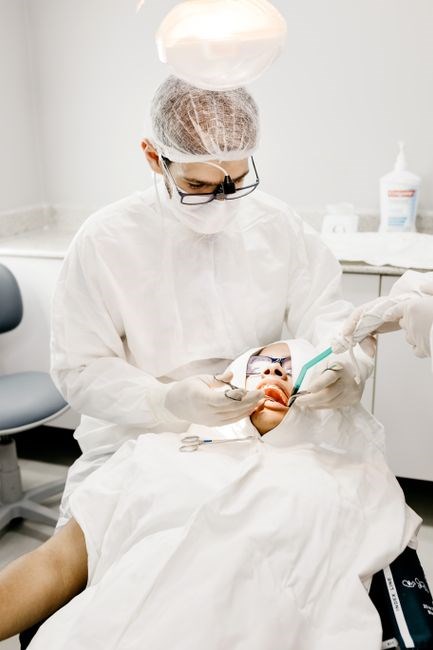
Overview of the Alberta Dental Fee Guide 2023
Alberta’s 2023 Dental Fee Guide, released by ADAC, standardizes treatment fees and codes, ensuring fair pricing. It lists suggested fees for common procedures, uses the USC&LS system, and is freely downloadable in PDF.
It supports fair pricing and aids insurers in claim processing and review!!.
Purpose and Annual Update by ADAC
The Alberta Dental Association and College (ADAC) releases the Dental Fee Guide annually to establish a consistent, evidence‑based framework for dental pricing throughout the province. The guide’s core purpose is to promote fairness, transparency, and equity in fee setting, ensuring that patients receive clear, predictable costs while providers can align their charges with a provincial standard. Each update incorporates the latest clinical evidence, inflationary adjustments, and market data, reflecting changes in technology, materials, and practice economics. ADAC’s review cycle involves extensive stakeholder consultation—dentists, insurers, patient advocacy groups, and academic experts—alongside a systematic analysis of practice data collected from member clinics. The resulting document, published as a freely downloadable PDF and hosted on an online portal, serves as a reference tool for new and experienced practitioners alike, supporting informed decision‑making and encouraging continuous quality improvement across Alberta’s dental community.
Key elements of the annual update include:
- Review of inflation rates and cost of dental supplies.
- Assessment of new treatment modalities and their economic impact.
- Analysis of fee trends from the previous year to detect outliers.
- Incorporation of feedback from dental educators to align with curricula.
These components ensure that the guide remains a living document, responsive to the evolving landscape of dental practice while maintaining consistency for all stakeholders.
By maintaining this rigorous update process, ADAC upholds its commitment to equitable dental care and supports the province’s goal of accessible, high‑quality oral health services for all Albertans.
ADAC’s regular updates mirror the evolving dental field, ensuring fee guidelines adapt to patient needs. This proactive approach keeps the market balanced, motivates providers to adopt practices, safeguards financial stability!!
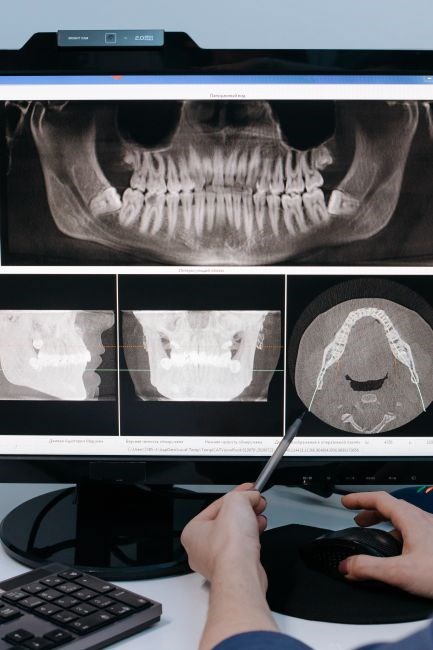
Coding System and Service Descriptions
“The 2023 Alberta Dental Fee Guide employs the Uniform System of Coding and List of Services (USC&LS) to standardize dental procedures. Each code corresponds to a detailed service description, ensuring consistent billing across clinics and facilitating accurate insurance claims. Improves fee transparency and.”
Uniform System of Coding and List of Services (USC&LS)
The USC&LS is a national framework developed by the Canadian Dental Association to provide a consistent set of codes and detailed service descriptors for every dental procedure performed in Canada. Each code is a five‑digit number that uniquely identifies a treatment, while the accompanying description specifies the clinical steps, materials, and expected duration. The system is updated annually to reflect advances in technology, changes in best practice, and shifts in reimbursement policy. In Alberta, the 2023 fee guide adopts the USC&LS to ensure that every dentist, whether in a private practice or a public clinic, uses the same terminology when submitting claims or setting patient charges. This uniformity reduces billing errors, facilitates audit trails, and supports accurate data collection for research and policy analysis. By aligning fee schedules with the USC&LS, Alberta’s dental community can compare outcomes across regions, monitor cost trends, and promote equitable access to care. The guide also includes cross‑references to related codes, enabling clinicians to bundle services when appropriate and to document complex procedures with clarity. Overall, the USC&LS serves as the backbone of the fee guide, providing transparency, consistency, and a shared language that benefits providers, payers, and patients alike. The USC&LS framework also enhances interoperability between practice software and insurance billing, cutting time and boosting data consistency.
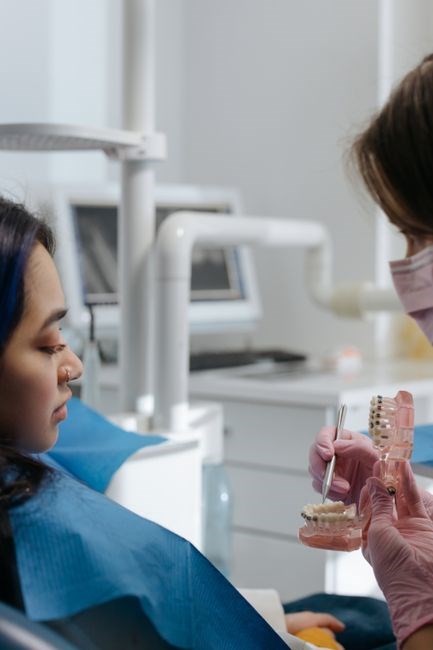
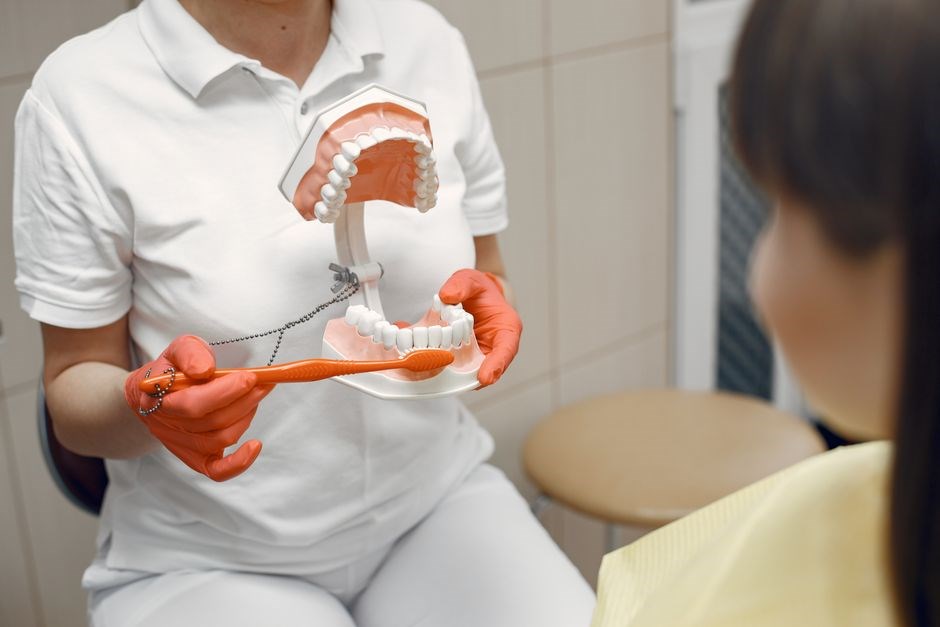
Suggested Fees for Common Procedures
The 2023 guide lists suggested fees for routine cleanings, fillings, root canals, crowns, orthodontics, and dentures. Fees are lower than 2016 rates, reflecting updated standards and encouraging fair, transparent pricing across Alberta’s dental practices. These fees promote fairness, budgeting!.
Preventive, Restorative, Endodontic, Periodontal, Orthodontic, Prosthetic
The fee guide provides a detailed schedule for each service category.The fee guide provides a detailed schedule for each service category.The fee guide provides a detailed schedule for each service category.The fee guide provides a detailed schedule for each service category.The fee guide provides a detailed schedule for each service category.The fee guide provides a detailed schedule for each service category.The fee guide provides a detailed schedule for each service category.The fee guide provides a detailed schedule for each service category.The fee guide provides a detailed schedule for each service category.The fee guide provides a detailed schedule for each service category.The fee guide provides a detailed schedule for each service category.The fee guide provides a detailed schedule for each service category.The fee guide provides a detailed schedule for each service category.The fee guide provides a detailed schedule for each service category.The fee guide provides a detailed schedule for each service category.The fee guide provides a detailed schedule for each service category.The fee guide provides a detailed schedule for each service category.The fee guide provides a detailed schedule for each service category.The fee guide provides a detailed schedule for each service category.The fee guide provides a detailed schedule for each service category.This guide ensures fair pricing and transparency to.
Comparison to Previous Guides
Since 2016, the Alberta Dental Fee Guide has lowered suggested fees for common procedures by about 8.5%, with further adjustments in 2020. The 2023 guide reflects these reductions, providing clearer benchmarks and encouraging cost transparency across the province.!!
Fee Reductions Since 2016 and 2020
Since the 2016 Alberta Dental Fee Guide, the Association has systematically adjusted suggested fees to reflect inflation, practice costs, and market dynamics. The 2018 update introduced a modest 3% reduction across most restorative and preventive codes, a move aimed at maintaining affordability for patients while preserving provider viability. In 2020, the guide incorporated a more substantial 8.5% decrease in average fees for common procedures such as fillings, crowns, and basic periodontal maintenance; This adjustment was driven by a comprehensive review of provincial dental service utilization data, cost‑of‑living indices, and comparative analyses with neighboring provinces; The 2023 edition builds on these trends, offering a further 2% reduction in certain endodontic and orthodontic codes, and a 1.5% adjustment for prosthetic services. These incremental changes reflect the Association’s commitment to transparency, ensuring that fee structures remain competitive and aligned with contemporary practice realities. The cumulative effect of these reductions has been a measurable decrease in the overall cost burden for patients, while also encouraging a more level playing field among providers. By publishing these adjustments annually, ADAC promotes accountability and facilitates easier comparison for insurers and patients alike, thereby fostering a healthier dental care ecosystem in Alberta. These adjustments also align with provincial health policy goals, ensuring fair access.!
Impact on Patients and Providers
The 2023 fee guide enhances transparency, allowing patients to compare costs and choose providers. For dentists, it standardizes billing, reduces disputes, and streamlines insurance claims. Overall, the guide fosters fair competition and improves access to care.!
Transparency, Competition, Insurance Claims
The Alberta Dental Fee Guide 2023 establishes a uniform pricing framework that directly improves transparency for patients and providers alike. By publishing suggested fees for every coded procedure, patients can readily compare costs across practices, ensuring that they are not overcharged and can make informed decisions about where to receive care.
For dentists, the guide reduces ambiguity in fee setting, limiting the potential for arbitrary price variations that could otherwise create confusion or distrust among patients.
Competition is naturally encouraged when fees are standardized. Practices that offer superior service quality or additional convenience can differentiate themselves on factors other than price, such as appointment flexibility, technology, or patient experience. This shift promotes a healthier market environment where providers strive for excellence rather than merely competing on cost.
Insurance claims also benefit from the guide. Claims are submitted with standardized codes and pre‑approved fee ranges, simplifying verification for both insurers and dental offices. The streamlined workflow reduces administrative overhead, speeds up reimbursements, and decreases the likelihood of denied claims due to coding errors or fee disputes.
Overall, the 2023 guide’s emphasis on transparency, competition, and efficient claims handling supports a more equitable, accessible, and sustainable dental care ecosystem in Alberta.

Accessing and Using the Guide
Clinics and patients can download the 2023 Alberta Dental Fee Guide PDF from the ADAC website for free. The guide also offers an online tool to search by code or procedure, view suggested fees, and compare rates across practices, ensuring easy reference and real‑time updates for providers and insurers.!!
Downloadable PDF and Online Resources
The guide also includes a glossary of terms, a list of acceptable payment methods, and a downloadable fee schedule that can be integrated into practice management software for seamless billing and encourages transparency in dental care and a fee calculator The fee schedule includes a breakdown of code, providers justify charges patients understand costs all
The PDF version of the guide is formatted for easy printing and includes allowing navigation. Users can zoom in on detailed fee tables, copy data into spreadsheets, or print sections for reference during patient consultations. The document is also available in a compressed format for low‑bandwidth users, ensuring that all dental offices regardless of location, can access the latest fee information!!
The online portal complements the PDF by offering a dynamic fee calculator that updates automatically with any changes to the USC&LS codes. Dentists can log in to view real‑time fee adjustments, export data to practice management systems, and generate customized reports for insurance claims. The portal provides a searchable database of all codes, enabling quick reference during treatment planning.
For insurance purposes, the guide supplies a standardized fee table that insurers use to verify claims. Dentists can submit electronic claims directly from the portal, which cross‑checks submitted fees against the approved list, reducing errors and speeding reimbursement. Patients can also view their claim status online, fostering transparency and trust in the billing process. for all parties and!?
Dentists can use either the printable PDF or the online portal for up‑to‑date fee information. These tools help maintain compliance, streamline billing, and give patients clear cost estimates, improving the overall quality of care in Alberta. The portal lets users compare fees across providers.! The portal also lets users compare fees across providers.!
Future Outlook and Updates
ADAC plans 2024 fee revisions, reviewing inflation, technology costs, and provider feedback. A public comment period will precede finalization. Updates will be released annually, with an online portal for real‑time fee changes. Email alerts keep clinics updated. daily
Expected 2024 Adjustments and Review Process
ADAC’s 2024 fee guide update follows a rigorous, multi‑phase review designed to balance clinical realities with patient affordability. The process begins with a comprehensive data audit of the previous year’s fee submissions, capturing trends in material costs, labor rates, and technology adoption. A dedicated review committee, comprising representatives from the dental association, provincial health authorities, insurers, and patient advocacy groups, convenes in early March to examine the audit findings and draft preliminary fee ranges. Throughout April, an open online portal invites public comment, allowing dentists, patients, and other stakeholders to submit feedback on proposed adjustments. The committee reviews this input, conducts additional cost‑effectiveness analyses, and holds a stakeholder workshop in mid‑May to discuss contentious items. By late June, a final fee schedule is published on the ADAC website, accompanied by a detailed justification report. The schedule is then subject to a 30‑day public review period, after which ADAC finalizes the fees in early September; The finalized guide is distributed as a downloadable PDF, updated web pages, and email alerts to all registered dentists and insurers, ensuring transparency and facilitating consistent billing practices across the province. ADAC’s commitment to transparency means that every fee adjustment is accompanied by data and a clear rationale, fostering dialogue among clinicians, insurers, and patients to keep the fee guide responsive to Alberta’s oral health needs.